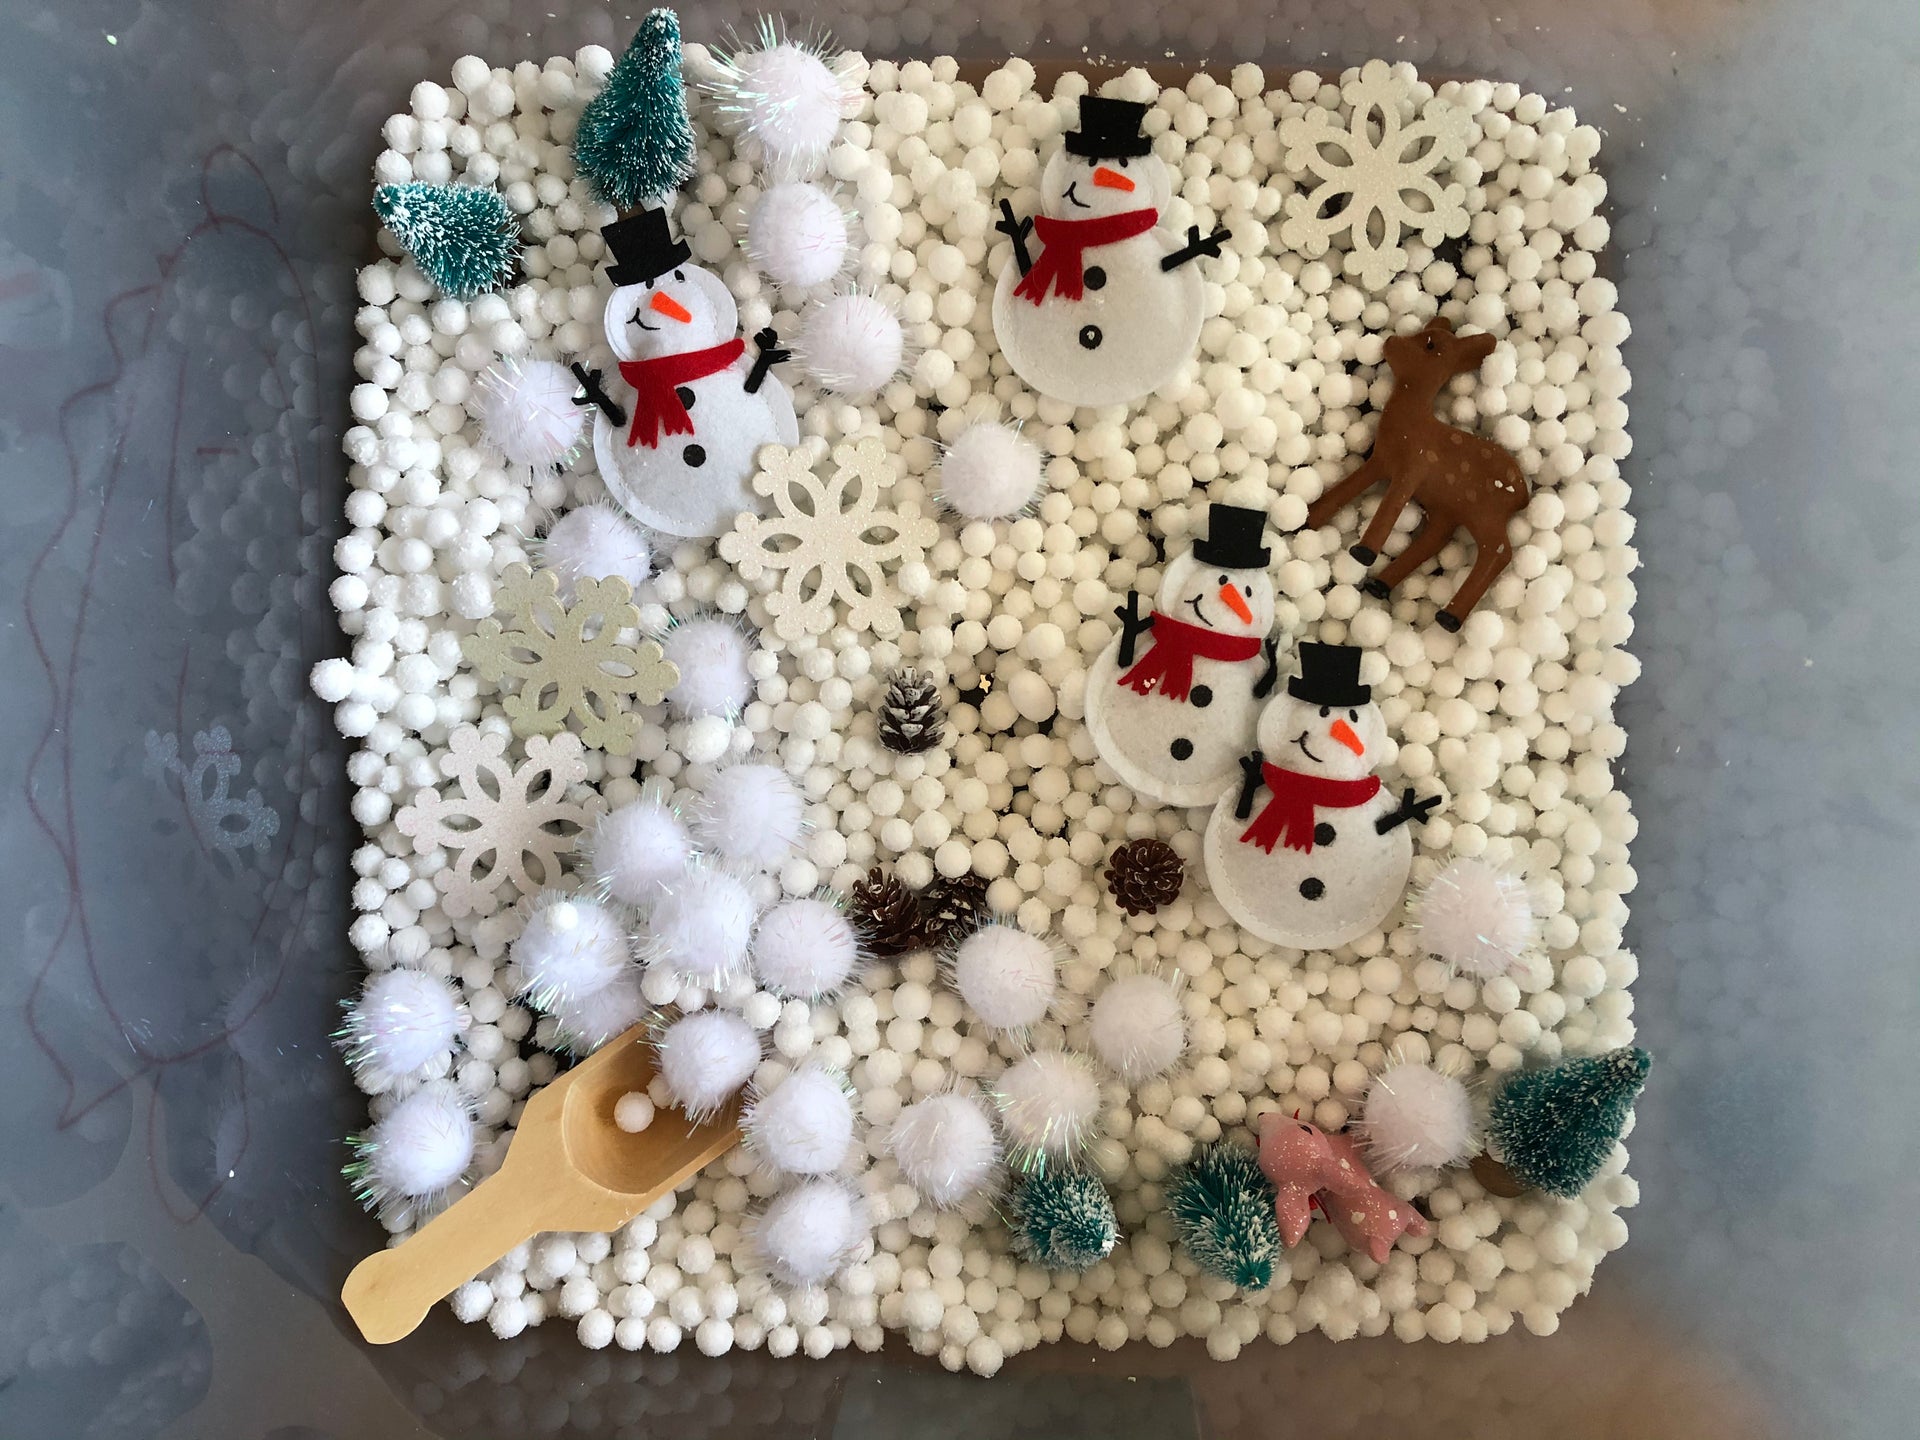
How to create sensory bins
As we’ve been spending more time at home this year, I’ve had to find more and more ways to keep my littlest busy, especially now that my bigs are doing school from home. She LOVES sensory bins, and I even catch my older kids playing with them too! I usually make up a few news ones each season, and just set one out every few days. They’re so fun and the activity ideas are truly endless! Today I’m going to share with you how to create one, or several!

First up, grab a container. A large Tupperware container, an old shoebox, a toy bucket, whatever you have! I like for mine to have a lid so I can easily stash it away.
Next up, you need a base. Rice, dried beans, and pom poms are a few of our favorites. When changing your bins, you can absolutely reuse these from month to month.

My favorite step is next, the activity! The Target dollar spot and Hobby Lobby are my go tos to find items for this. There is no right or wrong to what you put in there! Plastic figurines, little containers that can be filled up, holiday themed items...just keep in mind that these items tend to be small and a potential choking hazard for little ones. If you’re making a bin for a toddler, seek out safe and larger items. If you do use smaller items, consider only putting out the sensory bins when littler ones are napping or can’t get in to it, and always supervise when in use. The objective here is to create open ended and creative play.

The final step is crucial...something to scoop with! My daughter seems to play much longer if she can scoop, fill, dump, and repeat. I found all these different ones at Hobby Lobby, but measuring cups and spoons are great too!

So let’s review. Base layer + themed items + a scooper and you’re set for hours of creative fun!

xo,
Amy
